Sunday, November 23, 2014

Christmas Wall Hanging

Christmas Wall Hanging

Merry Christmas Ya'll!
 This is a small wall hanging done with some curved piecing of the snow and sky. The trees are pieced and appliqued to the background. Quilting is free motion. The sky is in a McTavishing pattern and the snow is freeform wavy lines. The stars are free motion thread painted.
The fabric for the sky is absolutely beautiful and I do not know where it came from, except from my stash. It is possible someone gave it to me. It is blue with white stars. It has a metallic sheen that is just gorgeous. I quilted the sky with dark blue embroidery thread. The quilting on the white snow is with a very light silvery :) color  to make the stitching snow up better. 
It measures 12 x 18.5 inches.

Thanks for visiting. I would love to hear from you!


Shared on:

Sunday, November 16, 2014

Modern Turquoise Pillow Cover

Modern Turquoise Pillow Cover.


Improv pieced. Striking Colors and Quilting make this piece HAPPY!
It measures 14 x 14". Straight line quilting except for McTavishing on the outer left and lower leaf print. Bound in black. 

Shared on 
 

Wow, I have been away from Blogland too long!!

Life can really be a BEAR!

I can't believe that it has been so long since I posted. I have been working very hard and so has all of my family. Just haven't been able to keep up. 
I participated in my first Craft Fair 2 weeks ago with some success. The display I had planned didn't work due to things "beyond my control" It was VERY windy and very cool for Florida. It was a learning experience and I am glad I did it. Made some sales too. I have a number of projects in the que waiting to be written up. I WILL be back.
                                              ellen

Saturday, September 27, 2014

Coastal Quiet Time

Coastal Quiet Time

I was away for a few days so have been realllllly busy at work. So not much time to blog, or create :(

I did not take my sewing machine on vacation, this time. I usually do. But for a short stay of 3 nights I decided to take some paint and canvas instead. I did one small painting. 
My favorite time on the beach is from about 5pm until sunset. Everyone has gone inside to have dinner and soothe their sunburned skin. The heat has died down and the breeze has picked up. Oh that sky!

This painting was done entirely with palate knives with acrylic paint in a thick, impasto application.  It is 3 x 9 x 1/2 inches. 
Hope you like it.


Loosely (very) inspired by this photo. This was at a beach near my Southwest Florida Home. I can never hope to come close to the beauty our Creator blesses us with daily, but it always inspires me.

Thanks for stopping by. Please leave me a comment.
UPDATE:
This was purchased by an individual in Tampa as a gift to a friend in Texas!


Saturday, September 6, 2014

"Beach Fantasy" Art Quilt


"Beach Fantasy" Art Quilt

I believe we all feel a pull toward the ocean. Just look at a map of the population!! I am fortunate to live within a 20 minute drive of the beautiful beaches of the Gulf of Mexico in Southwest Florida. I can feel it calling me almost daily. I don't make it that often but I feel good knowing that I could go almost any day. 

 This small art quilt was created using curved piecing, then free motion quilted using 6 colors of thread. It was then embellished with natural shells from my extensive collection :) of hand picked treasures. A couple of pearls for a bit of whimsy. The borders were then applied and it was mounted on a 9 x 12 inch canvas. 
This is my entry on Finish it Up Friday at
Check out the many great finishes at


 Close ups of the quilting and embellishment.


Thank you for visiting. Please leave me a comment. I would be honored if you choose to follow me.  

Update: 9/28/14
Threading My Way_Featured

Lets get to quilting!! 


Saturday, August 30, 2014

Wonky Pillow

Wonky Pillow

I have had this QAYG (quilt as you go) piece started for a long time. I had a basket of scraps that I would dive into from time to time and do a row or two. It really never grew any bigger than about 7-8 inches. I decided I would finish it off with a different technique. MORE McTavishing!!!! on a large neutral border.

Well, when I did the FMQ on the border, it shrank more than the middle, so the middle was kinda, well,,,, puffy...Hmmmm... ok, I will do some stuffing, like trumputo in that part. It worked out fairly well.


I layered the top and the back of the pillow wrong sides together, basted it. then bound it like a quilt. It measures 15" square


Sharing on 

Finish it up Friday 
On

Crazy Mom Quilts


Let me know what you think!

Monday, August 18, 2014

Grey X Pillows Cover, Finish!!

Grey Pillow Cover Finish

After piecing this, I was in a quandary. How shall I quilt this piece. I had been practicing some McTavishing on my Vintage Singer 237. Was it time to try it on a "real" project?  Guess so.
Update. I have had several comments regarding McTavishing. It is named for its creator Karen McTavish, award winning quilter and author. http://www.designerquilts.com/about.html

Also, my guild mate Katherine Ringo has a great youtube video that explains the technique.
https://www.youtube.com/watch?v=fp34yI9SUeY

http://katiesquiltingcorner.com/

I am pleased to have this project featured by Pam from:

 Threading My Way_Featured


I did my version of McTavishing in 2 quadrants and alternating squiggly lines in the other 2.

Each quadrant was quilted with a single piece of (top) thread. Except, of course some of it was cut off in the squaring and resizing process. ;).
I also debated about how to finish the pillow cover. When I finished the piecing and took it to show and tell at the Tampa Modern Quilt Guild, I felt it was, well, boring.  So, I began to think how to finish it off to have a nice accent. I like to use orange for my accent but I was thinking in another direction on this one.
 I found some fabulous green and light grey by Art Gallery Fabrics at my fabulous LQS, Crafty Threads http://www.craftythreads.com/ and decided on a 1/4 inch piping. 


 That is a shadow in the lower right, oops. 

I will take some other pictures soon when it is stuffed with a pillow form. Please leave me a comment to let me know that you have stopped by.
Thanks, ellen
Shared on
www.threadingmyway.com
 http://anightowlblog.com

Sew Darn Crafty Linky
 

Friday, August 8, 2014

Citrus Sunshine Quilt--Finished!!

Citrus Sunshine Quilt -- Finished!!

With all of its orangey, lemony and limey goodness, the Citrus Sunshine Quilt is finally complete. The binding is a small, sort of animal print that is orange and yellow. The backing is a green background with multicolored polka dots. 
It has some random piecing in a strip near the top.  
Measures 30 x 43 inches. Perfect size for an infant or small child.
Now, does any one have a little one who would LOVE this??
I plan to put it in my Etsy Shop.


Sharing on: Finish it up Friday
Crazy Mom Quilts   

Craft-o-maniac 
Linky party 
http://anightowlblog.com
If you are visiting, please leave a comment so I will know that 
you stopped by:

Tuesday, August 5, 2014

Grey X Pillow Cover

Grey X Pillow Cover

Started, or restarted a new pillow cover. I have had scraps that I have been piecing together for a while. Finally, I decided to use them for a pillow cover. An entire quilt of tiny scraps just seemed a bit much. I took some Kona Coal that would be the main part of the pillow. I pieced a strip of about 24" long of grey and blue scraps. The original width of the scrap strip was about 2.75". I then sliced it in half. 
The original plan was just to cut out a square for the pillow cover, slice it diagonally, sew the strip in and then repeat. That looked a bit plain. So, I pulled out some Kona Ash and attached a 1 inch wide piece to each side of the strip. That seemed to work better.


The strip on the bottom is tucked underneath the 2 cut pieces of the square. The top strip is just laid over the other, thus the difference in the width.
I am toying around with several different ideas for the quilting. May combine some free motion with straight line, walking foot quilting in different sections. Please let me know what you think.

Will share on August 6, 2014 on:

WIP Wednesday at Freshly Pieced

Wednesday, July 30, 2014

WIP Citrus Sunshine

Citrus Sunshine

I have made a bit of progress on this yellow quilt. A visitor who commented on a previous blog post on this quilt that said it reminded her of the colors of lemons and limes. I thought that fit since I live in Florida, so I named this one 
"Citrus Sunshine". It is a modification of a strip and flip quilt. (see previous posts) I am free motion quilting with wavy lines alternating with loops. 
Maybe I will get to post it as a "finish" soon!!


Shared on 
http://sewfreshquilts.blogspot.com
http://sewfreshquilts.blogspot.ca/p/lets-bee-social.html
Let's Bee Social

Saturday, July 26, 2014

Daily Snuggler

Daily Snuggler

This is the first quilt I made with REAL quilt shop fabric. A mix of different lines. Mostly sale bin fat quarters.
The pattern is from Spring 2012 issue of Quilts and More.


The back is batik and is pieced. 
My first obligatory "On the fence" pic.
 Some block close ups.
It is free motion quilted with wavy lines.


This is really a poor quality photo but I kind of liked the
effect.

Shared on
Show and Tell Saturday

This is my Daily Snuggler. 
Please leave a comment to let me know you stopped by. 

Thursday, July 24, 2014

Pin Cushion

Pin Cushion

We had Christmas in July at the Tampa Modern Quilt Guild last week. 
The food was great and the friends better, oh but the gifts. They were spectacular!!!

This was my small contribution. 
made from this tutorial and pattern.


This is about 6 inches in diameter. Hope my guild mate enjoys it.
Merry Christmas!!

Shared on:
Sew Fresh Quilts

Sew Fresh Quilts
 If you are visiting, please leave me a comment. Would love to hear from you. If you blog, leave your address and I will follow you back!
Thanks!

Sunday, July 20, 2014

Sewing Space

My Sewing Space

I have lived in my current home in the Tampa, FL area for about 15 months. My studio for quilting, sewing and crafting is my "living room". 
I wanted it to look reasonably attractive but also there was a list of 
Must Have features. 

Cutting Table

I have seen many of these great DIY cutting tables on Pinterest. 

Mine was made by using 2 bookshelves from the K store. Then I bought a table top from IKEA. It is attached with L-brackets. Measures 
30w x 48l x 36h. Makes life so much easier. 
The shelves are filled with boxes for storage.
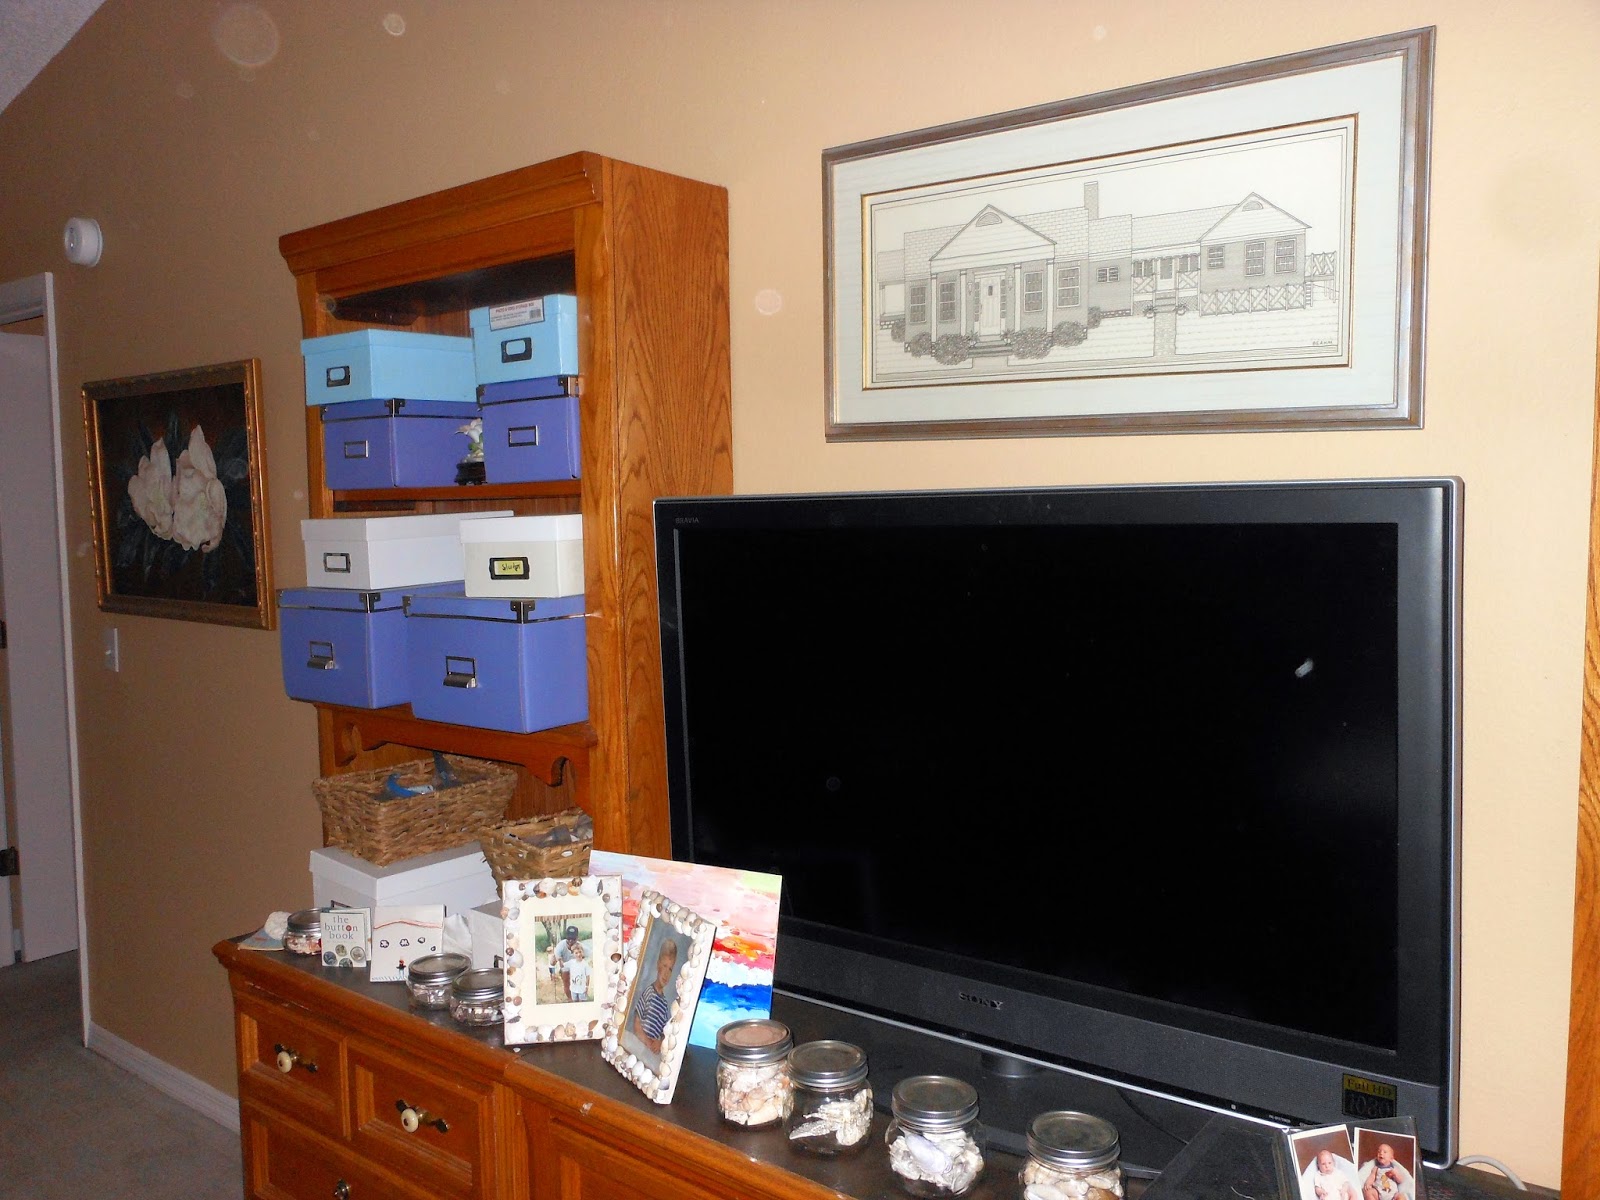

Shelving Units

For storage we had bookshelf units that were in my boys rooms when they were growing up. I would love to paint these but haven't taken the time. 
I bought some boxes and store a lot of my fabric there.


I store craft supplies in the drawers. I also have 2 drawers full of machine embroidery thread.
Sewing Machine Table

For a Loonnnngggg time I wanted a table made so that the bed of my machine could sit flush with the table top. I had looked into buying several tables from big box stores or thrift stores, but had an ah-ha moment when I saw my son's old computer desk. The machine sits on the keyboard drawer and it is a dream to sew on. 


There are file cabinets on either side. On one sits my serger, under the cover, and the other provides additional space to support quilts. Patterns and other supplies are in the files. 

Desk

No pictures here. LOL. Let's just say it has several WIPs on it right now. It is 
L-shaped and has my computer and 2 other machines.

It is far from perfect and not always as organized as I would like but, I am working on it. Leave me comments and link to your sewing space.

and

Anything Goes Monday
http://marelize-ries.blogspot.com/

stitch by stitch